Madison CS 3-4: Generated Art with a Pen Plotter
In this project, you’ll learn how to install and use a Python library to write a program that generates cool art that can be drawn on a pen plotter.
What’s a pen plotter?
A pen plotter is an electronic gadget that holds a pen and draws stuff with it. The particular pen plotter we’ll be using is called an AxiDraw, and it looks like this:

The basic idea is that the device holds a pen, we put a piece of paper under the pen, and you write a computer program that tells the plotter to move the pen around so that it draws stuff on the piece of paper.
If you’ve used the WaterColorBot, this is a lot like that - except it’s simpler, because you don’t have to worry about writing code to wash the brush and dip it in different kinds of paint!
Getting Started
I’ve written a library called madison_axi that’ll let you write Python code to control our classroom’s plotter. When you run your program on your computer, it’ll draw a preview of what you can expect to see on the plotter; once that preview looks the way you want it to, you can submit your program to us and we’ll run it on the plotter for you.
Start by reading the library’s QuickStart guide. Read the example program on that page and make sure you understand it. There are some more example programs if you want to read those too - spiky_circle.py is my favorite, try running it on your computer later on once you’re all set up.
NOTE: To access the command line on your classroom computer, click the Windows icon on the bottom-left of the screen and type cmd, then click Command Prompt.
NOTE: In order to install the library on your classroom computer, you’ll need to run pip install --user madison_axi at the command line. Notice that this is slightly different from what the QuickStart page says. If you don’t include the --user in there, it won’t work, because you don’t have administrator access on these computers. Once you install the library, you’ll need to close IDLE entirely and then open it back up again, it won’t be able to find the library until you do this.
NOTE: You should call initialize() at the start of your program and cleanup() at the end of it.
How to use the library
In a new IDLE file, start by importing the AxiDraw library at the top of your code, like this:
After that, you can call functions from the library like this:
Controlling the plotter is a lot like controlling a turtle - the library gives you access to functions like turn_right(45), turn_left(90), move_forward(100), etc. This will feel very familiar from previous assignments.
This page has a list of all of the functions that the library gives you. Read the whole page, there aren’t very many functions. You can probably ignore get_position(), get_y(), and get_x(), but I bet you’ll use all of the other ones.
When you run a program that uses this library, you’ll see a window appear on your screen, and it’ll draw a preview of what your program would do on the plotter. The window is a particular size, and I did that on purpose: make sure that your program doesn’t draw stuff outside the bounds of that window, or otherwise it won’t get drawn on the plotter’s piece of paper. Don’t resize the window - you can move it around on your screen, just don’t change its size.
If your program draws stuff within the bounds of the demo window, that stuff’ll appear on the plotter’s piece of paper; if your program tries to go outside the window, that’ll make the plotter try to draw stuff outside of the piece of paper, and that’s no good because then there’ll be ink all over the table.
Inspiration
Here’s some cool stuff that people have drawn with an AxiDraw:
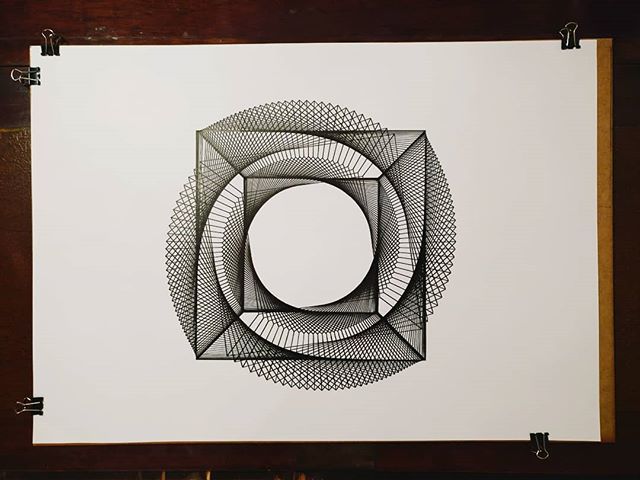
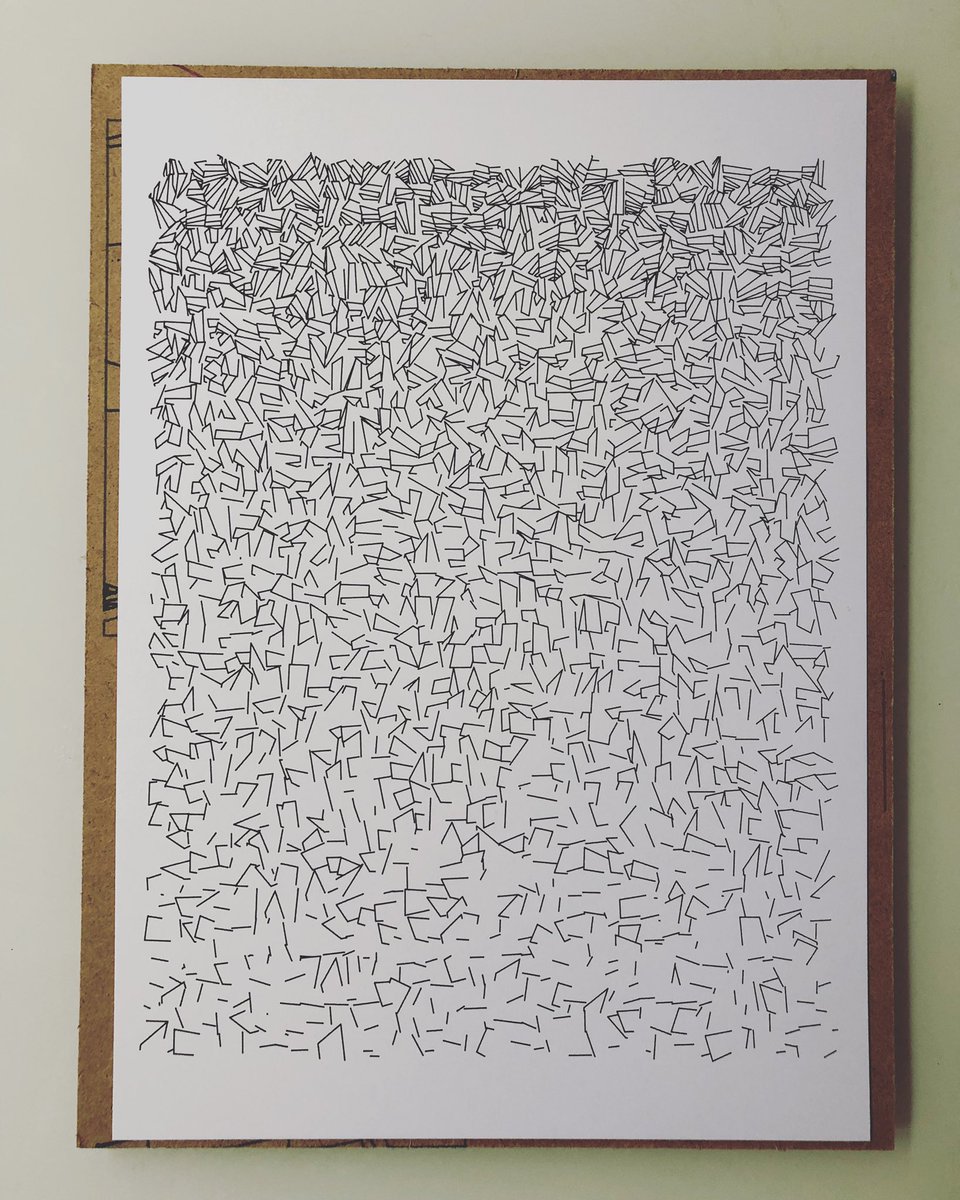

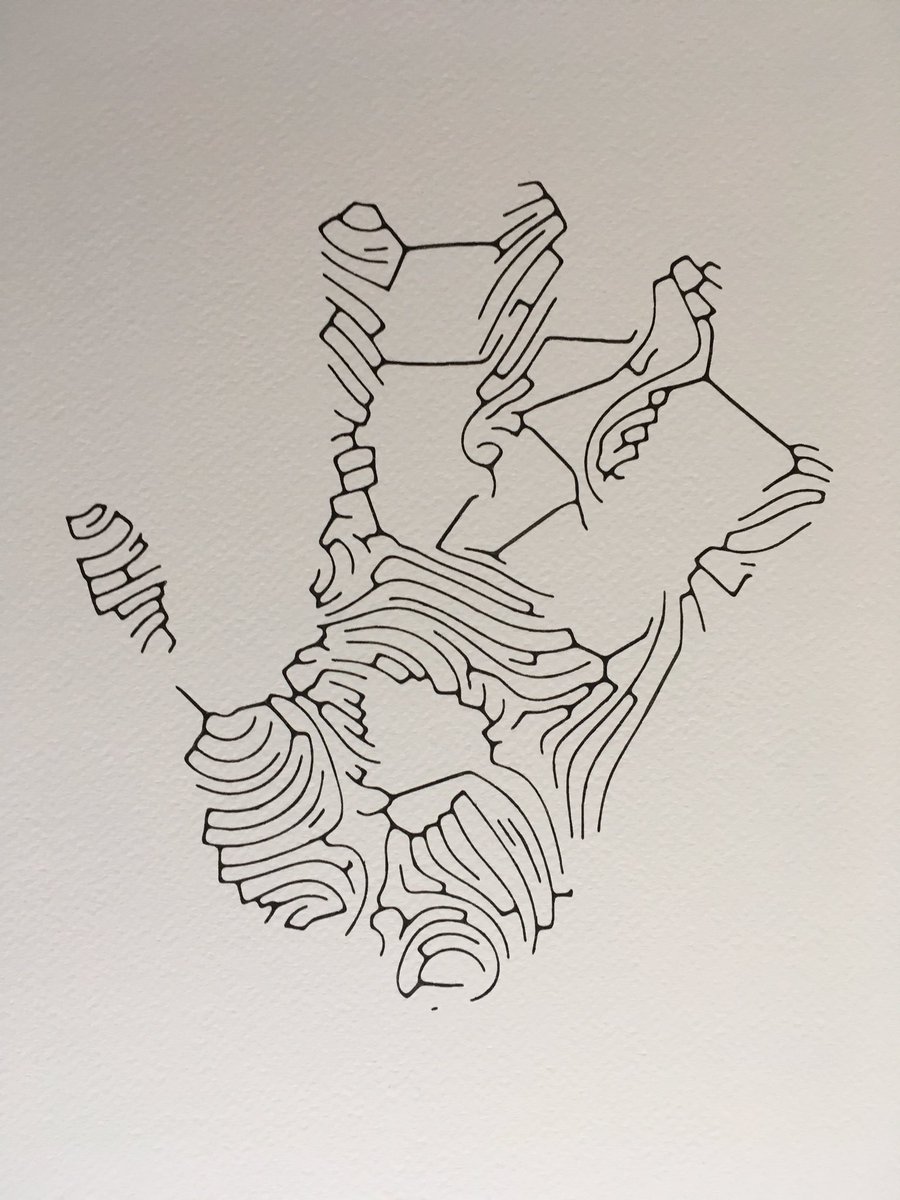
Notice how some of these (like the second one) have an element of randomness to them. We’d really like to see that in your programs - it’d be really cool if you wrote code that draws something different every time it’s run. Just be sure that that your program stays within the bounds of the page like I mentioned earlier!
For more examples, see:
Click around on those links and explore, you’ll see a lot of cool art that was generated using a bit of randomness!
Requirements
- You must define at least one function that takes some inputs. For example, you could make a function like
draw_square(length)that draws a square of a certain size, ordraw_circle(x, y, radius), etc. You can make as many functions as you want, and they can do whatever you want - just make sure that you have at least one function that takes inputs. - You are strongly encouraged to use randomness somehow in your program while keeping some sort of artistic structure. Make a program that draws circles of random sizes to make a larger circle, that’d be cool! Or draw a grid of random shapes in increasing sizes. Or take inspiration from the links above. Just make sure that the program stays within the bounds of the demo window like I mentioned earlier.
Submitting
Submit a file called axidraw_<YOUR_NAME>.py. For instance, I’d submit a file called axidraw_jr_heard.py.
On the first line of that file, write a comment with your name on it, like this:
# JR Heard
Once you’re done, turn in your code on Google Classroom.
Remember to follow this class’s style guide.
Advanced: Games!
Last year, some students and I figured out how to write games that can run on a WaterColorBot. Here’s the text adventure I wrote:

And here’s the Minesweeper game a student wrote:

You can do the same thing on an AxiDraw, since it’s like a much simpler WaterColorBot!
To write a game that runs on a device like this, all you have to do is:
- use the
input()function to get a string of text from a user, and then - have your game’s code do something based on that string.
For example, my game let the user say stuff like go east or open jar; the Minesweeper game let the user say something like 4 5 to indicate which square they’d like to check for mines; etc. Your game might let the user say attack skeleton, or climb ladder, or whatever you want!
Aside from that, you write some code that does game-logic-type stuff, and then when you get to a point where a game would normally print something out to the screen (e.g. “Your sword hits the skeleton for 2 points of damage!”), you use the madison_axi library to draw stuff on a piece of paper instead. That’s the general idea, but please feel free to ask us in person if you want more specific advice!
You’re welcome to read my text adventure’s source code, but it uses some Python features we haven’t learned about yet, so don’t worry if it’s hard to understand right now - we’ve still got a lot more material to cover in this class! :)